Showing posts with label Christmas. Show all posts

May 28, 2012

An unseasonal LO...Christmas at Berko!!

Hi everyone...its beautifully sunny here and so hot you could fry eggs on the pavement...so i thought i'd scrap a very unseasonal photo and immerse myself in cooler times. ;0)


I only allowed myself to use papers and cardstock from my scraps pile...and i even created the background pp with a scrap, some Versamark ink, a few mica powders and my hand carved damask stamp...did you spot it?
{To see the LO more clearly just click on it and it will pop up big enough for you to see all the details :0) }

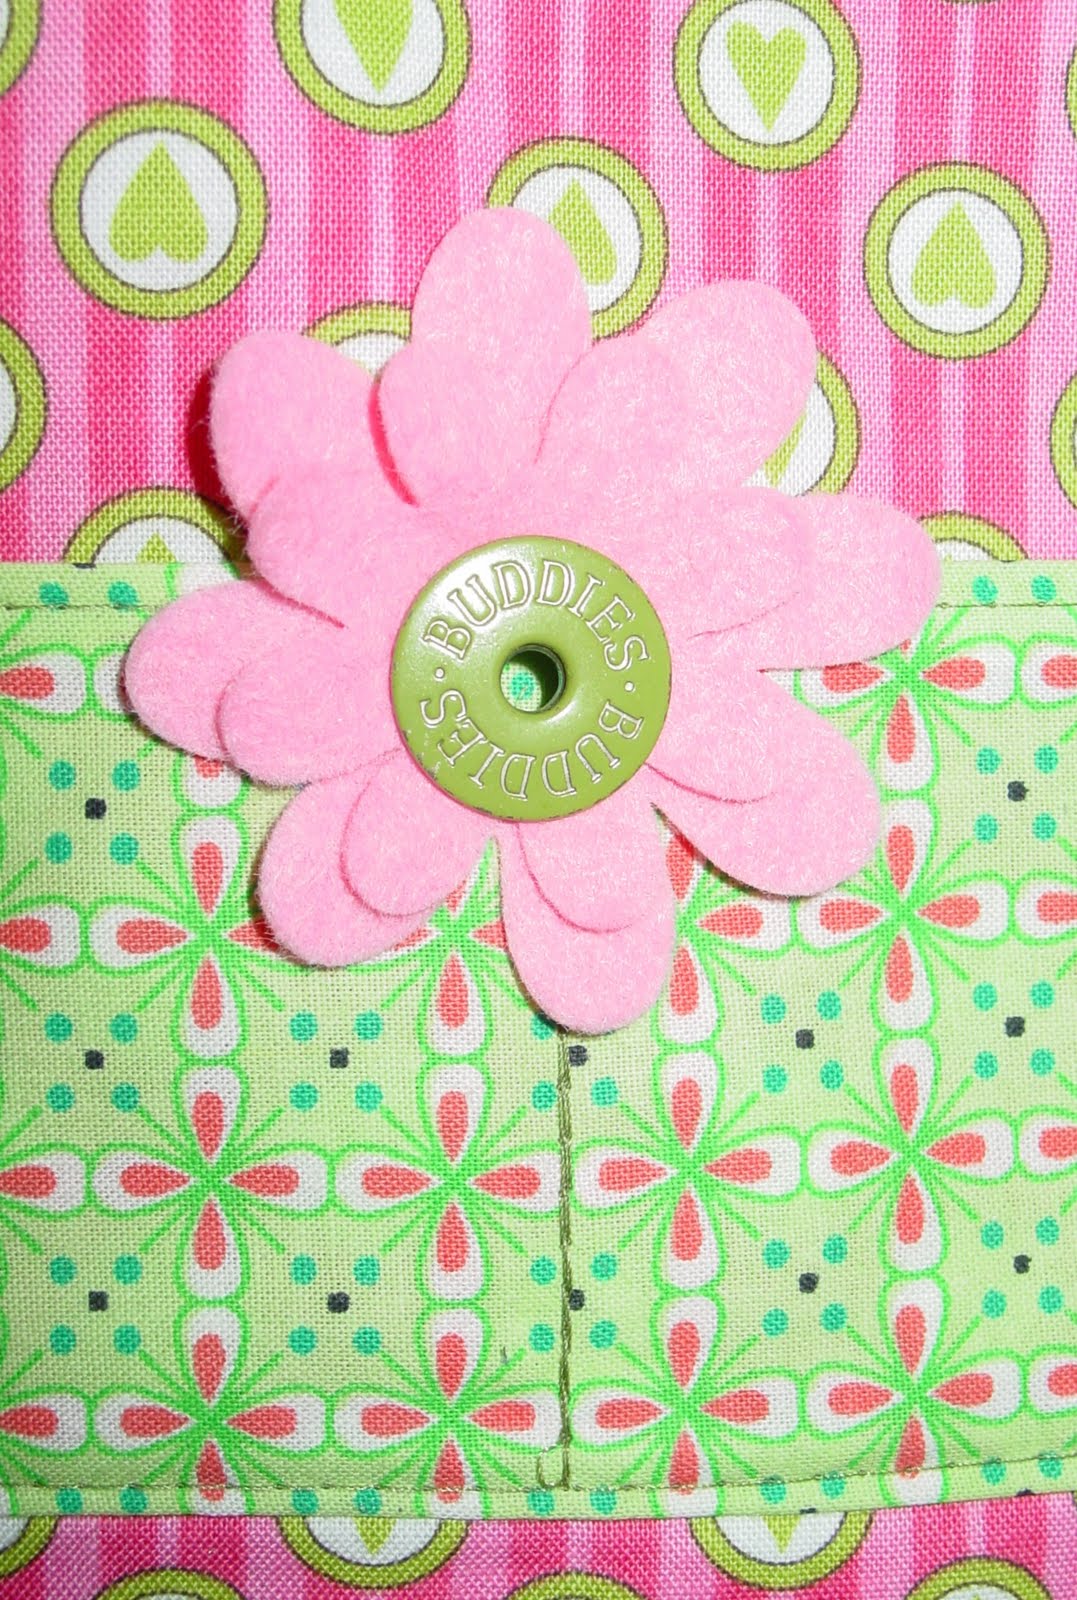
The embellishments all came from the tray on my desk where I keep leftovers from other projects.  The paper flowers are both dipped into UTEE after being coated in Brilliance ink, and the wire flower is held in place by a cute brad that was also in my tray.

I stamped the journalling block using an ancient stamp and rounded the corners to match the tag i've used (upside down) on the top left.

Its another case of, not feeling great so throw it all at the page and see what happens...but i'm quite liking how it came out! :0)  And how can you fail to love the cheeky look on my BIL's face!!

I do hope you are managing to keep cool...and not get burned...but taking the opportunity to have an ice~cream or two!

January 17, 2012

a very Merry Christmas LO...

a little light~hearted scrapping today...and a LO that took hardly any time or supplies...but that makes me smile when i look at it!

the pp are so pretty that i didn't feel it needed much more, so i simply die~cut an extra bauble onto which i did my journalling and added it with foam above Will's picture...to let you know that these pics were actually taken at 11am in the morning!!

i doodled frames around each of the photos and the Merry Christmas title to make them *co~ordinate* and added a little glitter to the bauble at the bottom.


is it too minimal do you think?

December 28, 2011

a little wine...bottle!

Hi there bloggers...i do hope you've all had a wonderful Christmas and are looking forward to the New Year celebrations.

Despite alot of illness throughout the whole family...we all managed to be well enough on the big day to spend a few hours together and had a thoroughly fabulous time...which i plan to scrap later today! :0)  Have you scrapped your day yet??
Now...back to the wine...its not a Christmas whine...but a Christmassy bottle of mulled wine...a perfect but inexpensive gift {depending how much brandy you put in it}.  I decorated this empty brandy bottle with Viva Decor Croco paint and tinted it with Saddle Brown Stazon to give it a lovely golden glow.  I die cut the label using a Nestability die and stamped and embossed the words "a little festive spirit" in gold embossing powder using a PaperArtsy alphabet.  I edged the die cut with Cranberry Adirondack ink using some cut and dry foam to add a little age and depth to the label.
Obviously, the glass changes colour completely when you pop the mulled wine in...
To embellish the bottle i tinted some Prima flowers with the Stazon ink and then used Alchol Inks, dropping them directly onto the white pearl centres and letting the ink run along the veins in the flower.  I then dipped the edges of the petals into drops of ink placed onto my craft sheet to get the coppery colour around the edges of the petals.  Finally i added some Prima leaves and beads...and i think you have a pretty spectacular gift in minimal time...with maximun impact!  The lace i've used was also tinted using the Stazon so all the colours tone beautifully which really helps to create a project that *works* and looks well thought out.
Now...who can you think of in your life that needs a bottle like this..?  I think it would make a lovely gift to take to a New Years' Eve party...and if you're not a drinker...you could do a similar bottle and fill it with luxury bubble bath for an alternative kind of treat!

Happy New Year to you all, 
alixxx

December 19, 2011

Bubbly Scrumptious update...oh 3~D Christmas tree...

still not able to post pictures...but i have another project over on Bubbly Scrumptious today...just click to here to  be magically transported to a world of 3~D trees!

I'm a creative girl!

ok...i think i can post if i don't add any pictures...which is a shame Mr. Blogger!!!

i've made a very vintage styled Christmas wreath...but if you want to see my latest creation you'll have to pop over to the IACW blog here :)

i'll be back later if i can get this to work...as i have other things to share...

*frustrated*

December 03, 2011

straight out of Mollie Makes...

...its not very often i copy something directly from a magazine {or anywhere else} but this little raindeer totally captured my heart and i had to immediately make one for my new baby niece, Amber.  It was designed by Rita Maia and is on page 27 of Issue 8 of Mollie Makes.  Pretty cute, huh?


and now i'm wondering how often you make things just as you've seen them in a magazine?  or a book...?  or on one of the crafting channels?  do you always like to make you're own mark on a project or are you happy to make a total copy..?  i'd love to know your thoughts...

November 29, 2011

Bubbly Scrumptious update...a pop~up starcard for Christmas

hi all,

just to let you know i have a project up over on the Bubbly Scrumptious blog today...just click here to see it!


i hope you like it!
alix

October 05, 2011

Bubbly Scrumptious update...a Christmas box!

do pop on over to the Bubbly Scrumptious blog to see my latest project...a versatile Christmas box...

just click here! 


thankyou
:0)

September 26, 2011

Bubbly Scrumptious update...a little Christmas sparkle

hi all,
just to let you know that over on the Bubbly blog this week i have a quick, vintage style Christmas card for you to make...you can see it here :0)


July 07, 2011

30 minute Thursdays...a fabulous star decoration...

Another Thursday quick project today...how to use what we learned on Monday's Bubbly Scrumptious Blog posting...not to make a starbook...but to adapt it to make a rather fabulous star shaped decoration! These are great for parties, children could even do them...and they'd be super for Christmas fairs if you want to use a little bit of stash to raise a whole load of cash! :0)

Firstly, cut yourself 21 strips of double sided pp, to the sizes listed below. This is really quick if you use your paper trimmer.

Secondly, use a wet glue to stick the sections together...one strip of each size, glued as shown below with a little glue on either end.

When your sections are all glued together, stack them by glueing one on top of another adding the glue as shown below:


Now add some ribbon with some strong tape and glue the first section to the last section, opening the star out to form the shape.


Your star should now look like this!


Add a flowery embellishment to the middle of the star with a generous amount of glue...this will help to stabilise the points if you've used thinnish pp...but it looks lovely even if you don't need it!

Finally, hang your decoration up...this one is going to go to my sister and her hubby to decorate the nursery they are preparing for their much anticipated baby...


Warning:
You may well be asked to make lots of these...people do seem to be disproportionately impressed with the skill required to achieve these babies...but i won't tell if you don't!! ;0)

December 24, 2010

wishing you...

...elf and 'appiness over the Christmas period and in the coming year...

you'll need your speakers on for this...but trust me....it'll get you in the Christmas party mood!!

hope you enjoyed it...hope you enjoyed the blog this year...and i hope you'll all join me...onwards and upwards in 2011!

alixxxxx

December 22, 2010

Christmas cake...have a go...

...as you'll no doubt have noticed by now...i don't often let a lack of skill or technical knowledge stop me having a go at things...and when i saw Kirstie decorating cupcakes as presents...i just had to have a go for my FIL's Christmas cake...and this is the result:


...its sort of half ribbon bow and half rugby scarf...but his team are the cherry and whites...so its all cool...and Santa does have a matching scarf!!


...i formed the bow loops around the tube from an old roll of tin foil and stuck them onto the cake once they had dried hard {about 24 hours}...trouble is...i've made it so big it doesn't fit in the tin now!


...as you can see its by no means perfect...and i'd do it slightly differently if i did it again...but i enjoyed doing it...and i know if he ever makes it through the snow to pick up, he'll have a good laugh :0)


this is the opposite style totally...as its for my Mum's house guests {who aren't coming due to the snow...but luckily fruitcake keeps!}...its subtle, i hope stylish, and still fits in the tin!! lol
there is a whole half~bottle of brandy in this cake...so you'll be able to imagine the yummy smell it has been emitting for the last 6 weeks...mmmmmmmmmmm
ok...after Christmas i promise normal service will be resumed...and i'll be stamping and creating more paper craft stuff again...but boy have i enjoyed a change :0)...and i'll leave you with the greeting i received from my friend's 3 year old this morning {who hadn't seen me since my latest hairdressing catastrophe};
"oooooh alix....you've got strawberries on your wellies...oooooooh i like your hat...ooooooooooh dear...you've got some red paint in your hair!!!" ;0)

December 20, 2010

what can you do...

...with 2 fat quarters and a yard of grossgrain ribbon? i don't know what you can do...but i can do this!! :0)


a rather funky little handbag, with four pockets and a flower on the front....


...and a pretty matching inside...i love opening a bag to find its as nice inside as it is outside...somehow it feels special to have gone the extra mile :0)

so that is one more pressie off the Christmas list...which...given how hard its snowing atm is a great relief...because there is no way i'm going out if i don't have too!
hope you're exercising your crafty muscles while the snow is causing our actual muscles to waste away indoors... ;0)

December 17, 2010

simple beaded snowflake tree decorations...

...i whipped these up last night in from of the Royal Variety Show...beading and giggling to Michael McIntyre...not a bad way to spend an evening, huh? ;0)


if you fancy having a go its this simple:

  1. thread 6 beads onto a short length of wire, making a small loop at either end to secure the beads, and leaving a little room...about 3 mm for twisting.
  2. repeat this, to make the second arm of the snowflake...
  3. repeat this again but make a larger hanging loop at one end...
  4. lie twist the three wires together and arrange the arms in a pleasing manner...
  5. lie snowflake flat on a craft sheet and add a blob of Glossy Accents and a button to the
    middle which will stabilise any *wobble~factor* :0)
  6. leave it to dry...then repeat as many times as you like...

one of the beauties of this technique is that it works with whatever beads you like...these one are non~traditional colours for snowflakes...but they look beautiful and understated in whites and clear too...or whatever goes with your Christmas scheme...

i hope you enjoy making them as much as i did!

December 15, 2010

slipper socks...from old blankets...


now i'm not sure if these are absurdly cute...or just absurd...but i feel sure you'll let me know!!! lol

...they are certainly absurdly easy...simply chop up an old felted wool blanket with sharp sewing scissors...and add blanket stitch in wool all around the edges to join and to decorate...

...and of course you can make them in whatever size you need...mine are a size 10 and size 4!! :0)
i'm not sure whether or not to embellish these toasty toe~warmers...i sort of like the simplicity...but then i sort of like embellishing...what do you think?

December 10, 2010

recycled mini~wreath...

...how about this for a cute environmentally and budget friendly Christmas decoration...


the base of this mini~wreath decoration is the plastic ring left~over when you've finished a roll of that super sticky red tape...i couldn't bear to waste them...so i've been collecting them...and now i've made a start turning them into little Christmas gifts to tie onto presents, hang from the tree...or above the fire place...
very simple to do...i've wrapped the plastic in some wool left over from an old tapestry kit, using the wool to make a loop for hanging, and tying two lengths to form a cross through the middle to which i've glued {or you could sew} the poinsettia in the middle...add a bow from a scrap of ribbon {this one came from a gift box last Christmas} and either glue or sew this just below the hanging loop...

...to create the poinsettia...i've simply die~cut 2 sets of red petals and one of green from some felt scraps {you could easily do this by hand...simply cute a 5 pointed star and then slightly shape the petals}
i've stamped Tim's dotty stamp onto the red petals using VersaCraft ink and then embossed them in Adirondack matte embossing powder in cranberry...i've tried to show in the photo above that when you look really closely...you can see that the spots are not perfect...but from a normal distance they look great! i used another scrap of the wool to sew the petals together and added a button into the middle...then glued it onto the wreath!
et voila...a simply adorable decoration that you can whip up in a few minutes, from whatever you have to hand :0)
go on...have a go!

December 08, 2010

its a girl...


...can you spot the newest addition to our Christmas family portrait? a cute pink sock monkey girl with a bow in her *hair* :0) this is one of our cute traditions...to send overseas or long distance friends and family a silly snapshop in with the Christmas cards...and as you can see...his Nibs has already started turning our little lounge into santa's sparkly grotto!!

December 02, 2010

a snow~inspired project...

...i can't stop thinking about snowy projects this week...so here is my snowman advent calendar!


this is a cute alter native to the regular advent calendar...a rollagraph type desk calendar...with a snowman on each page {of course you could do all the pages differently for a daily suprize}...the suprize on my calendar is that each page is actually an envelope containing gold and silver coins!

i've given it some festive sparkle by stamping the numbers in black archival ink, then coating them in crystal stickles...which looks better in real life...but gives a lovely green glittery glow to them...


...i've given the snowman a festive twinkle by smearing him with distress rock candy stickles...and painting his scarf with twinkling H2O in ruby red...black stickles finish the snowflakes off nicely too...


so how do you do it?
as you can see you will need 25 envelopes {mine are C6 sized}, a lenth of sturdy mountboard {i used the bottom of an unwanted box}, a BIA with wire and your chosen stamps and decorative mediums...
simply decorate all your envelopes {i've coloured mine with black soot distress ink for a moody, snowy night look} and cut your mountboard slightly wider than your envelopes, and slightly longer, plus 3 inches...score across the short side three times at 1 inch intervals from the bottom end and fold this into a triangle as shown above...use a wet glue and a couple of pegs to stick this well down...when dry...simply use your BIA and wire to attach the envelopes to the base...and fill with goodies!
i'd love to see it if you have a go at this...do pop back and leave me a link to your blog so i can come and admire your handiwork! :0)

November 11, 2010

12 days of Christmas swap...


its not a regular thing for me taking part in swaps...but over on UKS atm...i was tempted by the 12 days of Christmas swap...inspired by a project in Craft Stamper Magazine...designed by the fabulously talented Linda...

the idea is that 12 people make 12 thrinchies {3 inch squares} and decorate them, leaving the corners clear for attaching with jump rings...then when we swap...we end up with 12 different Christmas themed squares and it makes a lovely wall hanging for the festive season :0)


if you're wondering why i've made 9 turquoise and silver thrinchies...its because some of the people have requested specific colour schemes {including me!}


this red, green and gold is my chosen colourway...


this totally golden one was just for fun...

...and this black and gold colourway was chosen by another swapee...i hope she likes it!
the more observant of you will have noticed my absence and may like to know that i fell down a rather nasty poorly hole last week...but i'm doing much better this week...hope its a good one for you too...

November 03, 2010

woyww?


welcome to all followers of the good lady julia ...here is my wednesday confession...more push it back...pile it high...and if necessary...paint over it, i'm afraid...but that is just the way i've always done things!
as you can see...i'm making a start on christmas...in fact i'm taking part in a swap...so i won't be showing you the finished articles...not yet anyway!
thanks for stopping by...i hope you like what you see...and maybe you'll even feel moved to say hello!